Computed Tomography For Process Control In Additive Manufacturing
Estimated reading time 3 minutes
Metal additive manufacturing (AM) company Sintavia has installed a Nikon Metrology computed tomography (CT) system in its facility in Florida, USA to help control the AM process. The company is a global leader in the technology, providing a high-end design-to-production subcontract service to customers in the aerospace, automotive and oil & gas sectors, amongst others.
Eight high-speed additive manufacturing machines are installed as well as post-processing equipment, powder, metrology and mechanical testing laboratories and various quality assurance tools. Using the powder bed process with electron and laser beam melting, Sintavia currently manufactures components from Inconel 718 and 625, aluminium, titanium, cobalt-chrome, stainless steel and other proprietary powders.
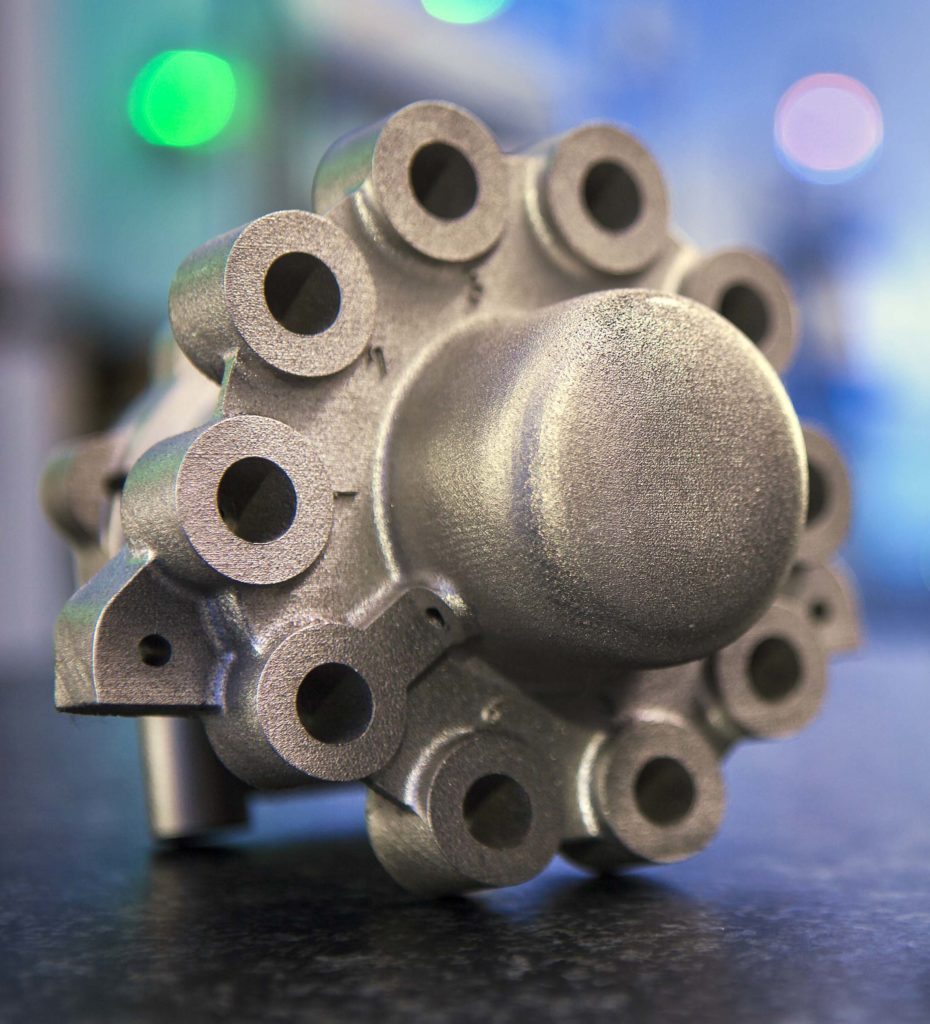
AM allows special internal designs to be realised, such as conformal cooling channels, lattice networks, hollow members and other complex geometries. Both additive and traditional manufacturing can result in microscopic voids and gaps within the structure, which can cause stress fractures and reduce the longevity of a component’s lifecycle. All of these internal features can only be inspected non-destructively with CT scanning.
Brian Neff, Sintavia’s CEO said, “There are thousands of metal AM machines in place globally with just as many people, if not more, still figuring the process out. We’re making it a mission to work with our customers to develop optimal parameters for their builds. If you don’t understand and control the process, you won’t be able to build what you want to.
“Working with our customers to develop optimal parameters for builds demands nothing less than total process knowledge and understanding. Sintavia is able to optimise parameters, serially manufacture and audit quality much faster than any of our competitors.”
To assist in furthering this capability and achieving the desired level of quality control, the company decided to invest in the latest CT scanning technology. Other AM companies often outsource this aspect of inspection but Sintavia wanted the equipment in-house to enable rapid inspection and allow full control over the quality of products.
Mr Neff added that manufacturing standards are highest in aviation, driving the need for a process that is robust and repeatable to raise component quality and clearly demonstrate the improvement. It is essential to know whether voids or inclusions are present, how large they are both individually and in total volume and where they occur. It is also necessary to know whether the dimensions of the part conform to those of the design.
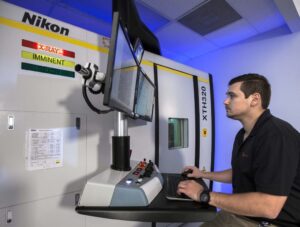
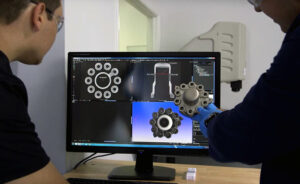
In such cases, X-ray computed tomography is a powerful tool and Sintavia has installed a 450 kVA micro-focus computed tomography (micro-CT) system from Nikon Metrology. By converting 2D pixels to 3D voxels, supplying a full 3D density map of the samples, the technique gives all this information in a visual, easy-to-interpret format and shows any departure from the CAD model. It is straightforward to detect and measure powder residues blocking channels, porosity, contamination, cracking, warping, and dimensions such as wall thickness to an accuracy within tens of microns. Given a 100 mm sample and a detector 2,000 pixels across, the limiting resolution would be 50 microns, for example.
Micro CT is now much faster and more suitable for production-line use and CT scanning of similar parts can be automated using loading and unloading equipment. Scan times down to a few tens of seconds per part are possible.
