LK TO PRESENT NEW METROLOGY SOFTWARE AND HARDWARE
Estimated reading time 7 minutes
MACH 2026 – STAND 19-540

5-axis co-ordinate measurement
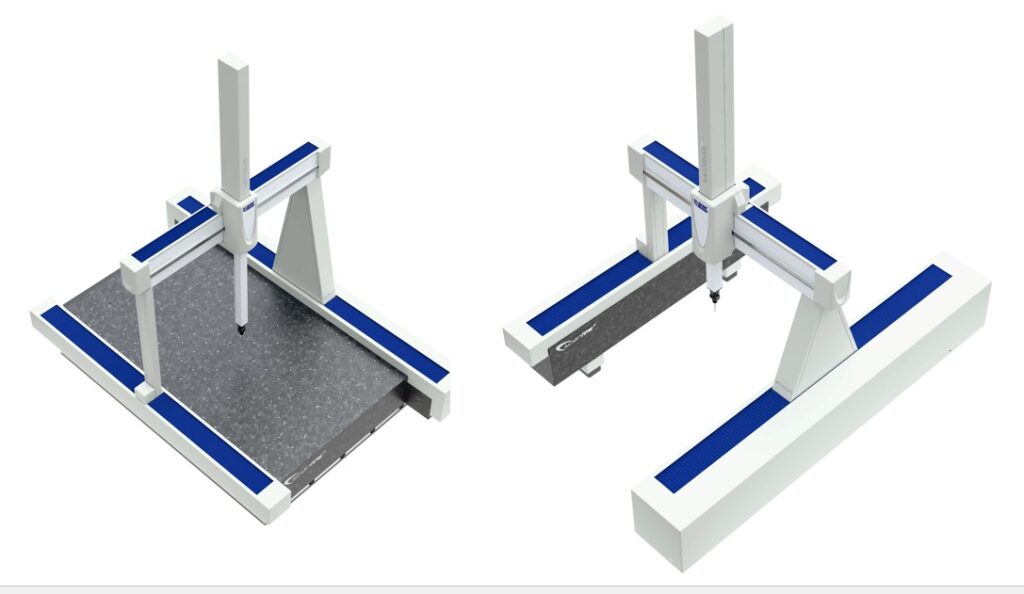
The exhibition will mark the first time that LK Metrology deploys its own industry-leading CAMIO programming, simulation, measurement, analysis and reporting software to drive a Renishaw REVO-2 high-speed, 5-axis scanning head. The chosen platform will be the LK Altera M 20.10.8 SCANtek5 co-ordinate measuring machine (CMM), which is manufactured at the company’s factory in Castle Donington, Derbyshire.
CAMIO 2026 R2 is the first official release of CAMIO software with full support for the REVO probing system. Designed to maximise the performance of advanced multi-sensor 5-axis CMMs, the software enables faster, more flexible, highly accurate inspection through synchronised motions of the CMM and probe head, optimised path planning, and seamless integration with REVO probe heads and tactile sensors.
The latest software release represents a significant step forward in delivering modern, scalable CMM software designed to meet the evolving demands of precision manufacturing and quality assurance. It builds on the previous release of CAMIO, which introduced native support for the PH20 5-axis touch-trigger probe head for smaller, compact CMMs.
Point cloud data integration
LK will announce at MACH 2026 that the intuitive point cloud inspection package, FOCUS, integrated last autumn into the software suite it offers, has been made part of the strategic software framework of IMG (International Metrology Group), to which LK belongs. It ensures that different software brands under the holding group’s umbrella work together seamlessly. It is therefore now possible to combine the speed and detail of point cloud acquisition with touch probing data, then analyse the multi-sensor input in CAMIO in one Industry 4.0-compliant workflow, without losing metrological traceability.
The software seamlessly drives LK’s class-leading, handheld H120 laser scanner and FREEDOM measuring arms, and the clear GUI (graphical user interface) offers direct access to the most frequently used functions. The easy-to-use, 3D digital inspection package provides users with part-to-CAD comparisons and advanced feature inspection from component data acquired by the scanner.
Further enhancing the software’s capabilities are the ability to analyse virtually unlimited point clouds, even those with over 100 million points, together with comprehensive point cloud tools including the proprietary FUSE algorithm, which can generate extremely high-quality polygon meshes automatically by intelligently leveraging scanner metadata. A range of CAD formats is supported, from neutral standards such as STEP and IGES to native formats including CATIA, Creo, NX, SolidWorks, ACIS, VDA-FS and Parasolid.
X-ray CT scanning
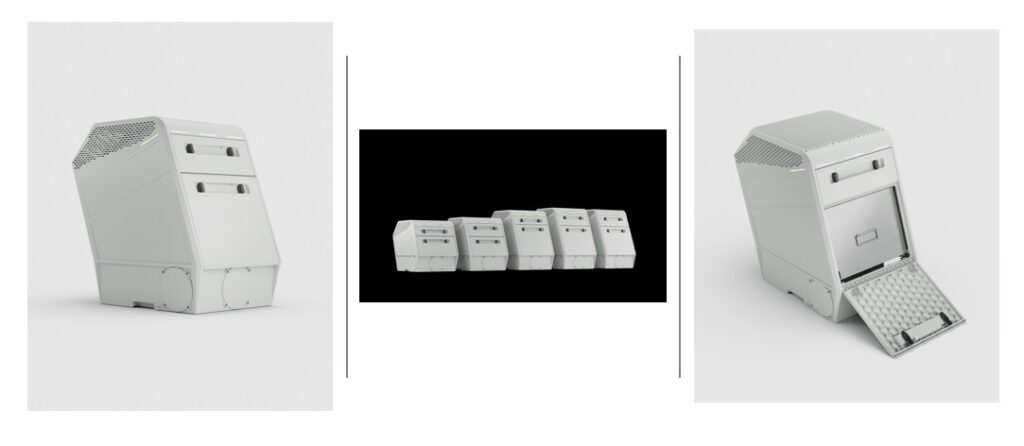
In the area of industrial computed tomography, an X-Ray Compact CT will be on show from German manufacturer ProCon, a recent addition to the portfolio of companies operated by IMG. ProCon X‑Ray GmbH has been developing X‑ray inspection equipment for industrial applications and university research projects since January 2004. The Compact is a benchtop machine with a high-resolution, micro-focus scanner capable of capturing a 3D volumetric model of a part for non-destructive internal evaluation. The 160 kV version is recommended for feature measurement and there are 150 kV and 130 kV models for material analysis and quality control, as well as for general inspection of voids, cracks and other defects down to single-figure microns in size.
A range of flat panel detectors is offered and their position may be adjusted to optimise image contrast during 360-degree rotation of the part, which can be up to 200 mm in diameter by 200 mm high and weigh up to 30 kg (although the Compact Plus variant can accommodate larger components). An outstanding benefit is the ability of the reconstruction software to start building the 3D model while the part is still being X-rayed, resulting in significant time compression when waiting for the results. Overlaying the 3D X-ray CT model onto the original CAD file highlights heat maps showing where the manufactured part deviates from the design intent.
Portable arm and laser scanning
A 7-axis LK FREEDOM measuring arm, version 3, will be demonstrated carrying an LK laser scanning sensor, H120, which the company now manufactures following acquisition of the business from Nikon Metrology at the end of 2024. (This was also the point at which it added the FOCUS software package.) Available also are 6-axis FREEDOM arms for touch probing only.
Attributes of the arms themselves, which are available in Classic, Select and Ultimate variants depending on the level of measuring precision required, include a light, strong, thermally stable, carbon fibre tubular construction, as well as the inclusion of absolute rather than incremental rotary encoders to feed back the angular position of every joint to the control software. The equipment may therefore be used immediately on start-up, avoiding the need for encoder referencing and system warm-up before every use, boosting productivity while delivering high-end accuracy.
A strong line-up of third-party inspection software can be supplied by LK with its FREEDOM arms, including InnovMetric’s PolyWorks Inspector that has the ability to exchange programs seamlessly between portable and static CMM platforms. ArcoCAD metrology software from Metrostaff is also available, in addition to FOCUS for data analysis, while the CMM Manager inspection package from QxSoft may be used for touch probing only.
H120 is a next-generation, portable laser scanner incorporating blue, low-speckle laser technology, an ultra-fast frame rate, specially developed optics and the ability to measure challenging materials. It efficiently delivers detailed, accurate data either in the metrology lab or on the shop floor in a fraction of the time of competing technologies. Having a field-of-view width up to 120 mm and a point resolution down to 35 microns, it is ideal for users requiring fast, detailed data collection over a large area. A frame rate of over 450 Hz is available even when measuring difficult surfaces such as carbon fibre and gloss black, as well as reflective or multi-coloured parts.
With 2,000 points per scan line and no reliance on point-to-point interpolation to artificially boost data density, it is possible to measure very small details on large surfaces even when cycle time is critical. Whatever the application, users can be confident that the productivity and clarity of the data remain at the highest level. The fourth generation of the company’s Enhanced Sensor Performance (ESP4) dynamically adapts the laser source intensity not just for every scan line, but for every point in each scan line, enabling parts with significant colour changes or reflectivity to be measured from any angle. It minimises the need for training, as a single scanner setting is capable of measuring almost all parts encountered in industrial metrology applications.
Through direct integration with a variety of class-leading software tools for scanning, probing, processing and dimensional analysis of measurement data, users can tailor the solution to their needs. Applications range from advanced inspection using GD&T (geometric dimensioning and tolerancing) with colour map comparisons, to nominal CAD, fly-outs and sectional cut-through, to reverse engineering or even simply using high-definition scan data to generate polygon meshes for additive manufacturing.
LK virtual showroom
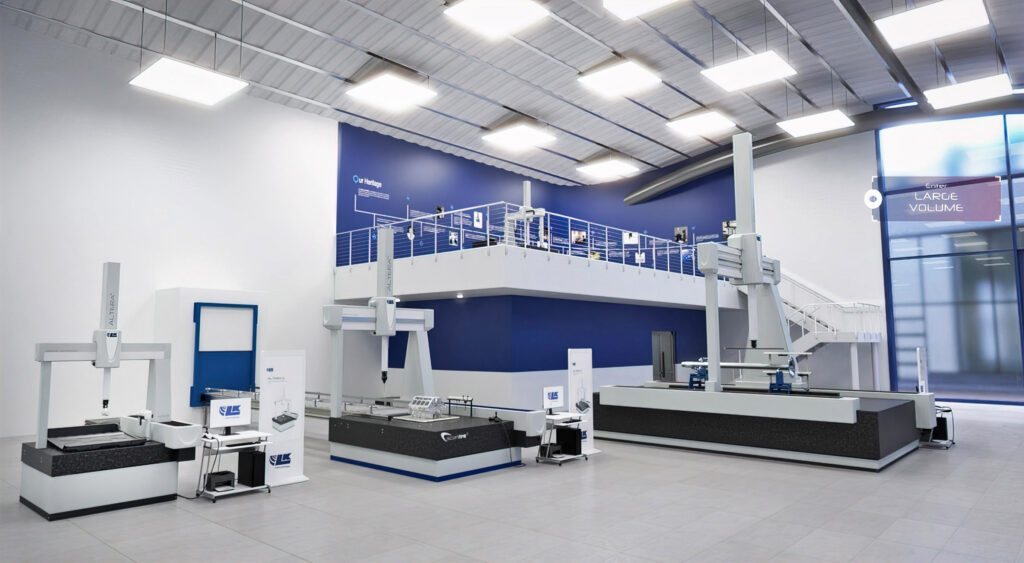
LK will be keen to make visitors aware of the company’s online virtual showroom. It offers an immersive experience that allows customers and prospects to explore through 360 degrees the range of CMMs and portable measuring arms on offer. The dynamic, interactive environment, which is accessible from a PC, tablet or smartphone, gives visitors the ability to discover LK products from anywhere in the world at any time by visiting www.virtualshowroom.lkmetrology.com
The platform has a host of engaging features that bring LK’s innovations to life. Users are able to experience through detailed animations the CMMs in action as they measure a range of parts. People can download interactive 3D digital twins to their devices and even place CMM models in their own space via augmented reality. The showroom also provides deep insight into LK’s technology, tracing the evolution of its products and offering a close look at the company’s engineering heritage.
Visitors are able to take a full-screen journey through the space, follow a guided tour to learn navigation tips or simply browse on their own. Specifications of the CMM models and supported sensor options are accessible through a Totem feature, while a Software Hub highlights the power and versatility of LK’s control, metrology, analysis and reporting software.


